Clear 3D Printing: Definition, Problems Faced And Its Solutions
Category :
Tech
These days, transparency is one of the major requirements in different fields, ranging from medical to industrial. With constant improvement in technology, clear 3d printing has been introduced to produce more transparent equipment.
In this post, we will explain all that pertains to clear 3D printing, for example; how it works, the type of materials used for its production and how to overcome its challenges if you find yourself in any.
Clear 3D Printing Explained
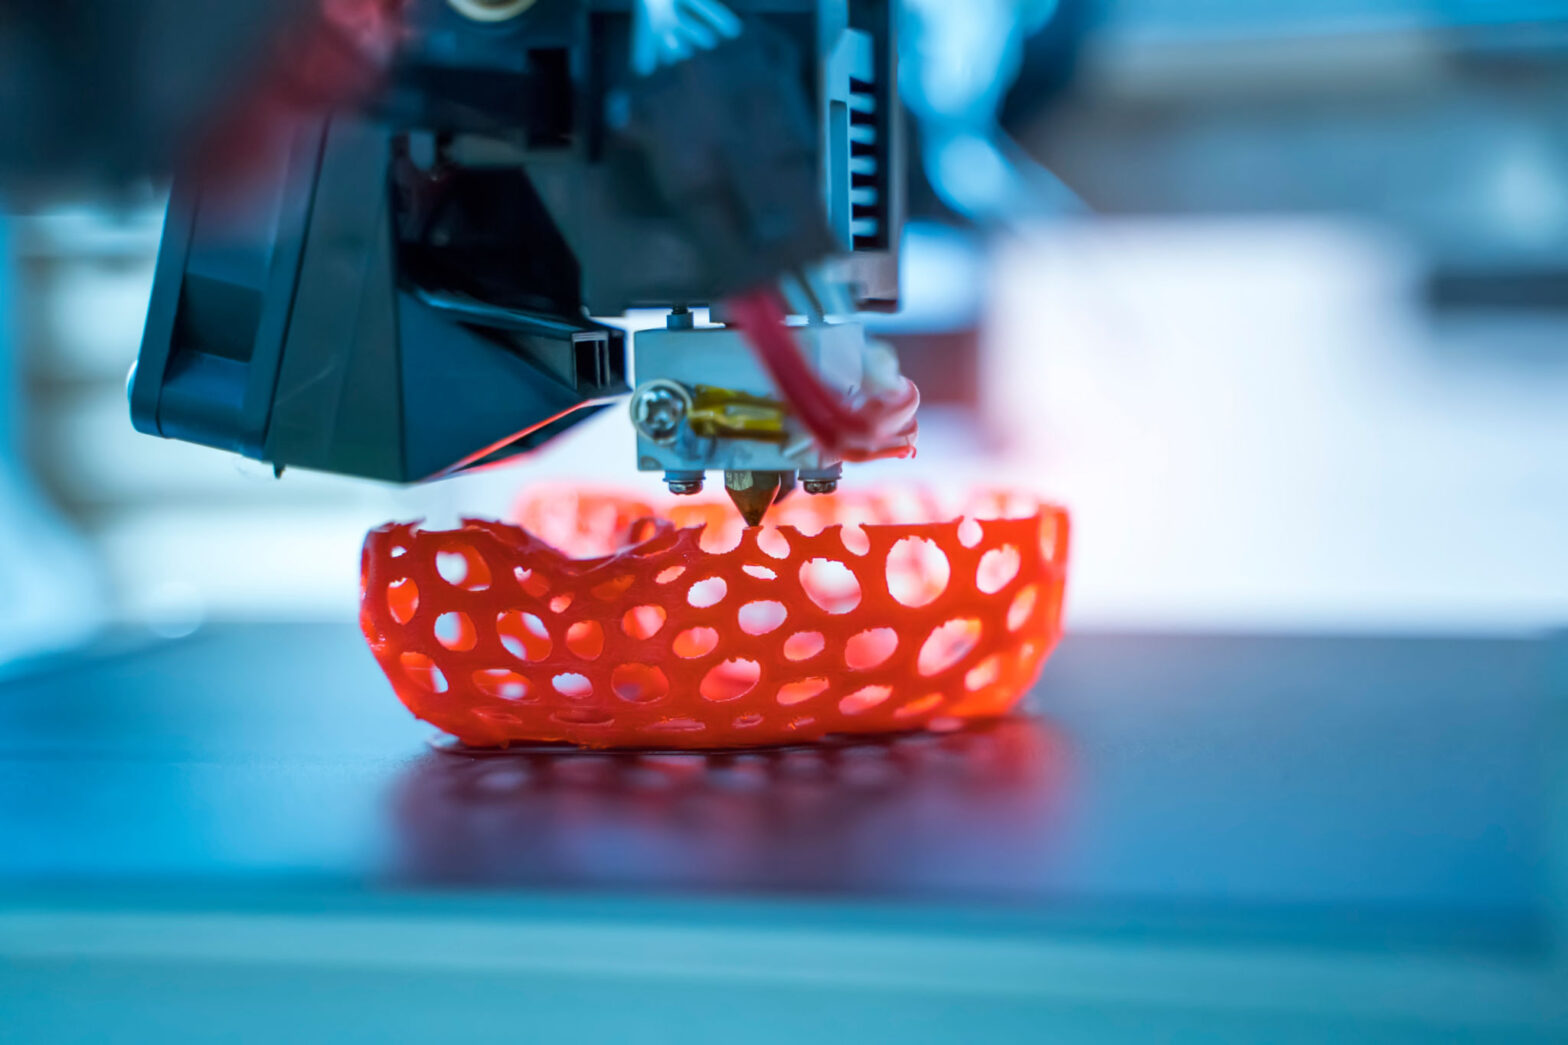
As we all know that any transparent object, is any object you can see through, so is clear 3d printing. It involves printing a plastic object that can be seen through. The translucency of the finished products varies depending on various reasons.
This can be the type of materials used for the production, the model of the 3d, post-production treatment, etc. This process looks simple to the eyes, but in reality, it is complicated.
The question now is, is it possible to achieve a clear 3d printing? The answer is Yes, it is possible. Explained below is how to achieve a clear 3d printing
Can One Achieve A Clear 3D Printing?
When it comes to 3D printing, you have the liberty to choose and create any appearance. You can choose to change the style, colour, shape and texture of your product. All you need to do is to change the materials used.
It is very possible to point out a clear 3D if you are ready to put in the extra effort. And it all depends on the type of products you want. Once it is a very clear product, post-production process and settings.
You should also know that there is a difference between translucent and transparent. A transparent can simply be defined as an object that allows the full passage of light. It is just like a flawless, very clear object while translucent does not allow the full passage of light. Also, it can be likened to stained glass.
Transparent Object In 4D Printing
In 4D printing, it is almost impossible to get a transparent object, the reason being that, during production, there are some irregularities as different materials are packed together. The irregularities from these stacked materials cause diffraction of light, thereby leading to a cloudy production.
Don’t get me all wrong, a clear 3D printing is possible when the right materials are used, the slicers are set properly and there is post-processing. During 3d printing, some problems might occur which might lead to bad production. Below listed are some of the problems that you might face and their solutions:
Problems Faced During 3D Printing And Their Solutions
Ringing 3D Printing
This happens due to vibrations from the printer. It causes a wave-like pattern on your printed surface. During cube printing, once the extruder gets to a sharp edge, it is expected to change its direction.
It is during this direction change that this error occurs. When this happens, there are simple solutions that can be implemented. Listed below are the solutions:
The Solution To A Ringing 3D Printing
Fast Printing
During printing, when you notice it is too fast, the probability of ringing will be high cause too fast printing causes vibrations. The solution to this is to reduce the printing speed. To achieve this, you will have to adjust the X and Y-axis movement speed and the default printing speed.
Acceleration of Firmware
This firmware is in control of your printer’s acceleration, especially during extrusion. When the printer wants to change direction, it slowly increases the acceleration speed and then decelerates slowly, thereafter changing direction. To reduce ringing, you can work on the acceleration speed of your printer’s firmware.
Mechanical Fault
When all the mentioned above have been checked and it seems the fault is not coming from there, you can as well check for mechanical faults. You might want to check for loose screws or broken parts on the printer that might cause vibrations.
First layer Failure
A 3D printing raft is used when you seem not to achieve a first layer ( be it an uneven first layer, a poor finishing or using an ABS material). This raft can be dropped on the build platform of the printer before dropping the first layer.
It can only be used when using ABS materials for FDM 3d printing. These rafts are used to prevent warping and for bed adhesion to increase.
3D Printing Stringing
Stringing 3d printing occurs when your FDM nozzles bring out melted plastic during an open space trip. When this occurs, your product gets interwoven plastic strands. This stringing is caused by too high temperature and inaccurate retraction settings. Listed below are some of the ways to prevent retraction.
Retraction Permission
To avoid ringing, allow the filament in the printer to pull back when the extruder is crossing a space. This enables and prevents the molten plastic from oozing out as it serves as a countermeasure.
Retraction Distance
Be sure of the type of extruder your 3d printer uses before setting your retraction distance as it depends on its type. If the type you have retracts further, it is unlikely you encounter stringing, but if it travels too far, your printer may not be available when you need it most.
Temperature Settings
Setting the temperature right is vital. If the temperature setting is not right even though your retraction settings are right it will still result in stringing. When the temperature is too high, plastic tends to melt and liquefies, causing drops. And when it is too low, melting will not occur.
The best solution is to keep an eye on the printing, when you notice stringing, you can reduce the temperature. The temperature is also dependent on the type of materials used. Also, the manufacturer has their specifications for temperature, ensure you don’t go below the specifications
Final Notes
Clear 3d printing is possible if the right materials are used and also if the settings are right. All you need is to ensure your printer is working fine and getting the right sources.
Most View