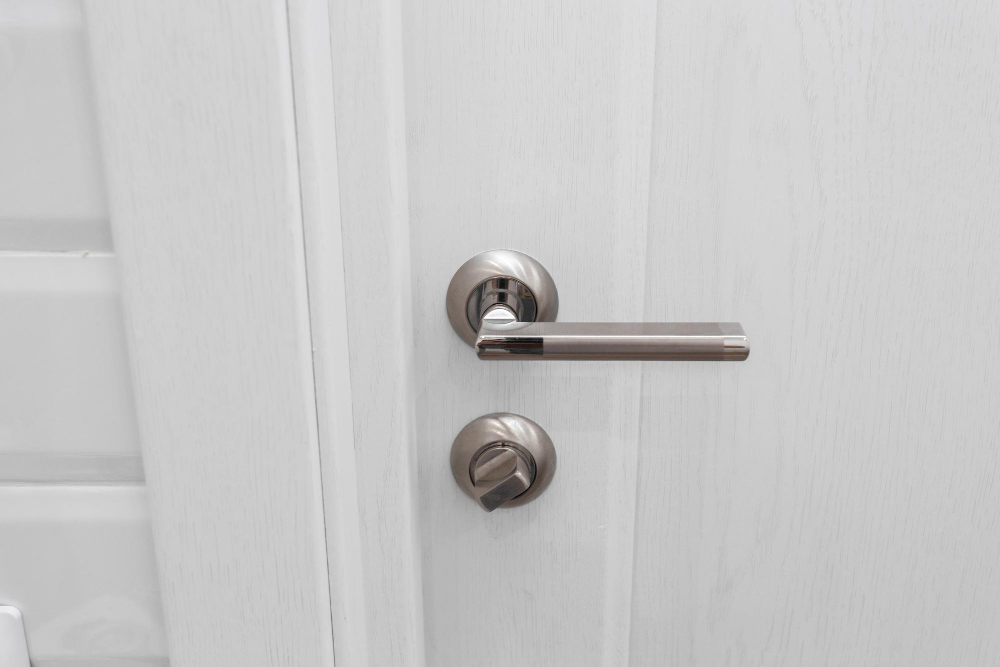
How to Install a Night Latch on Your Front Door: A Step-by-Step Guide
You’ve probably experienced this familiar scenario – finding it hard to unlock the door while carrying loads of groceries, or getting locked out rushing off to work. Putting a night latch on your door can make life easier. It saves time, prevents headaches, and gives extra safety during such crazy moments. This simple guide will walk you through installing a night latch on your front door step-by-step.
With some prep, you can put one on in just an hour or so. No more juggling acts to get in your door. A night latch allows quick, easy access with hands full. Follow these steps to install one yourself and avoid future door struggles.
What is a Night Latch and How Does it Work?
A night latch – a convenient door lock that gives you options for getting in and out. It adds security while also allowing easy access from the inside without fumbling for your keys. A night latch has a cylinder with a keyhole on the outside of the door. Inside is a latch knob connected to a bolt. Putting the key in the outside cylinder pulls back the bolt so the door can open.
To unlock from the inside, just twist the latch knob, which draws back the bolt so you can open the door normally. Night latches add extra security, stopping unwanted visitors even if they have a key. But people inside can still easily open the door to exit. You’ll see night latches on many home and business front and back doors.
Night Latch Installation on Front Door: Step-by-Step Guide Putting in a night latch is an easy DIY project. It normally takes about an hour or two. Having the right supplies and being careful when drilling definitely helps big time.
Here’s What You Need to Know About Installing Night Latches on Front Doors
1. Gathering Required Tools and Materials
Before installing, gather the needed tools and materials. Having everything ready will make the project go more smoothly and quickly.
You’ll Need the Following
- Night latch mechanism
- Rim cylinder with keys
- Strike plate
- Mounting plate
- Wood drill bits
- Screws
- Tape measure
- Pencil
- Power drill
- Safety glasses
Ensure you have all the necessary materials before starting the installation.
2. Marking the Door for Installation
First, determine the desired height for the night latch – usually between 36 and 42 inches above the floor. Measure and lightly mark the centre point at your preferred height. Next, hold the night latch mechanism against the door, aligning the centre with your mark. Trace a line around the outline of the mechanism. This will mark where you need to drill holes to install it. Do the same for the strike plate on the door jamb to align it with the latch bolt. Mark the screw holes.
3. Drilling Holes for the Night Latch
Put on your safety glasses, then use a drill bit slightly smaller than the mounting screws – usually around 3/32 inch – to drill holes centred on the marks for the mechanism and strike plate. Drill slowly and carefully to avoid splitting the wood. Drill from both sides to prevent tear-out. You also need to drill 1-inch holes for the latch bolt and cylinder to fit into. Refer to the product for the exact size required.
4. Fitting the Night Latch Mechanism
Insert the latch mechanism into the larger holes you drilled, with the latch bolt facing the door jamb. The mechanism should sit flush against the door. If not, you may need to enlarge the holes slightly with your drill bit.
5. Attaching the Mounting Plate
Place the mounting plate over the mechanism, aligning the screw holes. Attach the plate with the included screws.
6. Installing the Rim Cylinder
Insert the rim cylinder into the cylindrical hole in the mechanism. There will be a set screw or Allen wrench screw to tighten it in place. Make sure the cylinder and mechanism align properly so the key retracts the bolt smoothly.
7. Securing the Strike Plate
With the door closed, ensure the latch bolt aligns with the centre of the strike plate. Attach the strike plate screws to the door jamb.
8. Testing the Night Latch
You’re almost done! The final step is making sure this night latch thing is set up right. Start by putting the key in and turning it to open the door from the inside. Give it a try opening and closing – it should slide open smoothly without issues. Once you’ve shut it back up, try the interior knob like normal. This makes sure the latch pulls back properly so you can get back in easily. If the door isn’t opening quite right, you may need to tweak where that metal strike plate sits on the frame a touch.
Engaging a Professional Locksmith
While a night latch installation is an achievable DIY task for many homeowners, there are a few scenarios where you may want to call in a professional locksmith:
- If your door material or frame is unusually thick or thin, the standard night latch parts may not fit properly without adjustments. Experienced locksmiths have the skills to fine-tune the installation for specialized doors.
- For historic homes with ornate or antique doors, you’ll want an expert who can install the latch without damaging the existing door and hardware.
- If you don’t feel comfortable drilling the required holes accurately yourself, a pro can handle this tricky part of the job with precision.
- If you encounter any difficulties getting the latch aligned and operating smoothly during testing, a locksmith can troubleshoot and ensure it functions properly.
While DIY is a great option for many homeowners, don’t hesitate to call the experienced professionals at locksmiths for assistance installing your new night latch.


